Etching and Aquatint

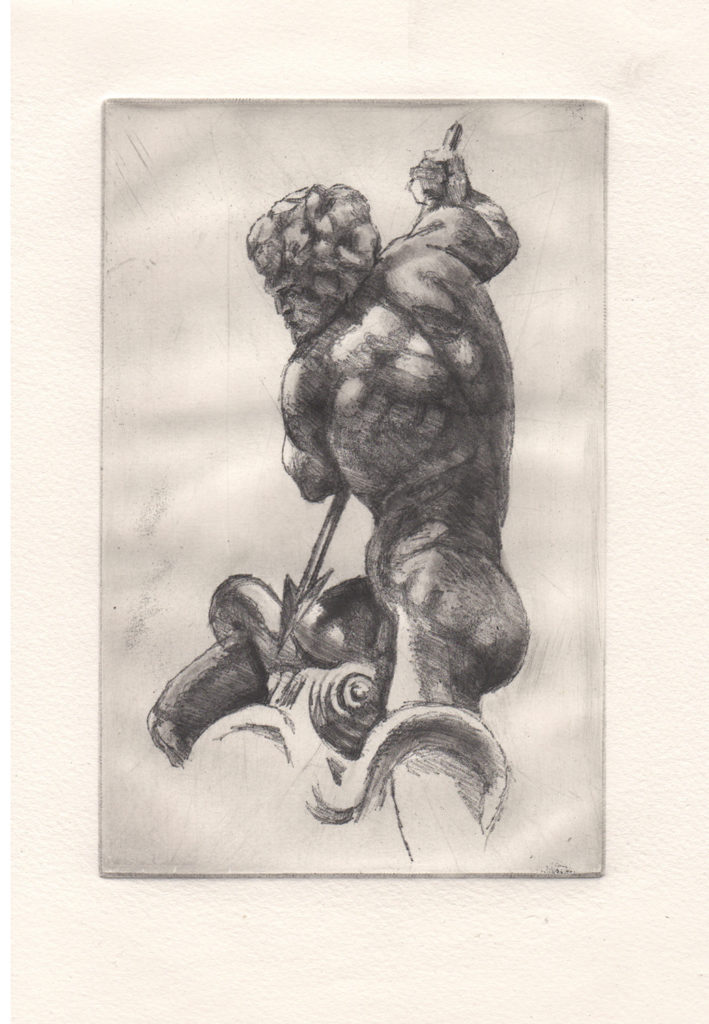
I so enjoyed studying mezzotint with Fred Mershimer at the Manhattan Graphics Center, that I couldn’t resist a ten-week course in etching and aquatint that he was teaching there. I decided to stick with one image throughout the intaglio exercises in order to focus on the techniques without the distraction of differing subject matter. I worked from a drawing of “Nettuno” that I made in Piazza Navona during one of my stays as a Visiting Artist at the American Academy in Rome. The sculpture is by Antonio della Bitta, and dates from 1878.

The first attempt was a hard ground etching. In this technique, a copper plate is covered with resin, then placed on a hot plate to even out. It’s left to cool off and harden. The process is pretty straightforward, you simply draw into the surface with a needle. When the exposed lines of copper are then dipped into an acid bath, the image emerges. You just ink the plate, rub it thoroughly, eliminating all of the ink except that which remains in the crevices. Next you print. I was very disappointed in the result, I must admit. Nettuno’s back looked like lumpy spaghetti.

We then moved on to soft ground etching. In this case, the resin is more malleable. The drawing is created by placing a protective piece of paper over the plate, then using a hard pencil. It’s much more forgiving than hard ground etching. I felt that progress was being made.

Our final adventure was aquatint. A soft ground etching is placed into a box containing powdered resin. By cranking a handle, a sort of blizzard is created within the box, coating the plate with what looks a lot like powdered sugar. The plate is placed on a hot surface to melt to just the right degree. The timing of this exposure is very critical, and thank goodness Fred was around to supervise. When the powdered resin hardens, you then proceed to “spit bite” the desired aquatinted areas with a small brush dipped in acid. This allows you to create the affect of various shades of gray, depending on how long you leave the acid in place on any given spot. The reason it’s called “spit bite” is that, since dilution of the acid by water would only bead on top of the plate, the preferred medium is actual spit, which is more viscous.
I greatly enjoyed this course. Whether or not I’ll pursue this further remains to be seen. I suspect that it’s somewhat contrary to my nature to indulge in so much “process.” I love the spontaneity of direct creation on paper or canvas. We’ll see.